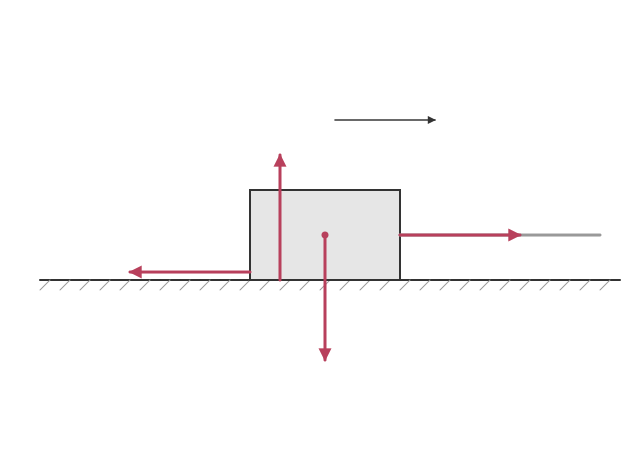
A free-body force diagram is a representation of an object showing the forces acting on the object.All connecting objects have been removed and the free-body is shown in isolation.Free-body force diagrams help you find the resultant force on an object, so that you can then apply Newton's laws.Rules for drawing one:1. Draw the object as a simple box or dot.2. Show only the forces acting on the object, never the forces the object exerts on other things.3. Draw each force as an arrow starting on the object, pointing in the direction of the force, with its length roughly in proportion to its size.4. Label each arrow with its name or symbol and, if known, its size.Common forces: weight W (downwards, from the centre of gravity), normal contact force R (perpendicular to a surface), friction F (along a surface, opposing sliding), tension T (along a string or rope), drag D (opposing motion through a fluid) and upthrust U.Example: a box is pulled at constant velocity along a rough floor by a horizontal rope.